
One of the biggest concerns potential customers have when considering a conservatory roof conversion is scheduling. Not knowing the process or schedule involved in the project can cause all sorts of anxiety.
If you’re having a conservatory roof replacement done on your property you want to know exactly what’s going to happen and when.
When it comes to a successful and satisfactory conservatory roof installation the key things you should be looking for are:
1. Quick, efficient installation process with a clear schedule.
2. Roof to be waterproofed as soon as possible.
3. Minimum fuss, noise and disturbance.
4. Everything to be done professionally, and backed by an installation guarantee.
We install the Guardian Warm Roof System because one of its great advantages is how quickly they can be installed with the right roofer.
The Guardian conservatory roof ticks all the boxes.
Read on to find out why, and to understand the four stages we follow to fit your new roof.
The Guardian Warm Roof System – A Quick and Easy Conservatory Solution
For roof installation speed and the best results when finished, we believe the Guardian Warm Roof is the best out there. That’s why, as an experienced roofing company, it’s the only model we install.
But why is it so effective and quick to fit?
Firstly, Guardian roofing is made from quality materials which you choose ahead of time. The customer picks out roof tiles, skylights and so on from Guardian’s range of colours and materials before the installation.
This pre-installation stage means that our fabricator assembles the roof structure in their factory before it gets to your house. The Guardian Warm Roof is put together to your conservatory’s exact specifications and measurements. So when it arrives at your home it’s ready for immediate installation. Our team can secure the Guardian roof to your conservatory on the first day and it is water tight before they leave your home that same day.
From there it’s simply a matter of completing both inside and out, to ensure that the room looks finished and polished. This makes a big difference compared to other roofing models which measurements and preparation of raw materials may take place on-site, resulting in longer and more unpredictable construction times.
We know you don’t like hassle, and nor do we. That’s why we’ve stuck with the Guardian roofing system for years now. We know it’s the most straightforward and effective of all conservatory roofing options on the market.
Find a conservatory roofing installer with an established schedule
The next most important thing after choosing the Guardian Warm Roof is finding a roofing company that’ll install it in a fixed time.
If you Google “roofing companies near me” many installers will claim to do the job quickly – but very few can offer a personalised schedule. Without one, you could end up with weeks or even months of delays caused by their lack of planning!
We will always provide an established timetable with specific dates and times for your conservatory roof conversion.
We use in-house roof installation workers who are specifically trained to fit the Guardian Warm Roof. That’s how we’re able to have a day-by-day schedule of your conservatory roof replacement prepared ahead of time.
Every project is different of course, but we’re able to follow a more or less fixed schedule for every conservatory roof conversion we do.
Here’s how:
-
Day 1 – The Roofing is Started
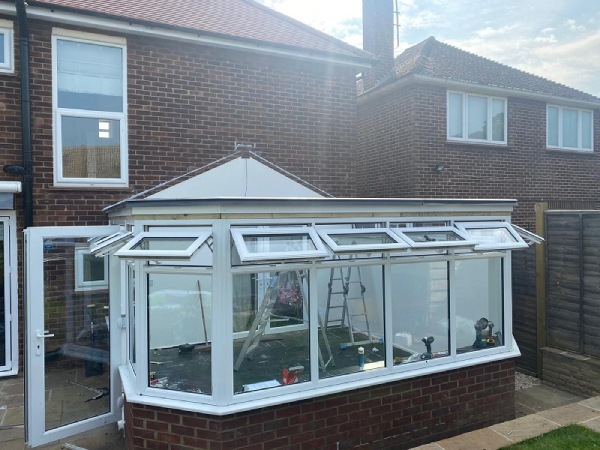
First things first: your existing glass or polycarbonate conservatory roof needs to come off. We remove your current roof and attach your new Guardian Warm Roof, which arrives as a set of prefabricated materials in line with your conservatory roof's exact measurements.
By the end of this very first day we ensure that the new roof is affixed to your conservatory and is watertight.
Day One is the only day the conservatory will be temporarily open to the elements. We therefore have to make sure we schedule to start when there’s no rain.
Don’t worry though – British weather being what it is, we always get in touch regarding any schedule changes as a result of wet conditions. We’ll work with you to find the best alternative to get the job started in the event of rain.
Also, if you’ve decided to replace your conservatory windows and doors we’ll complete this on the first day as well.
-
Day 2 – 1st Fix Electrics and Complete the First Conservatory Building Regulations Inspection
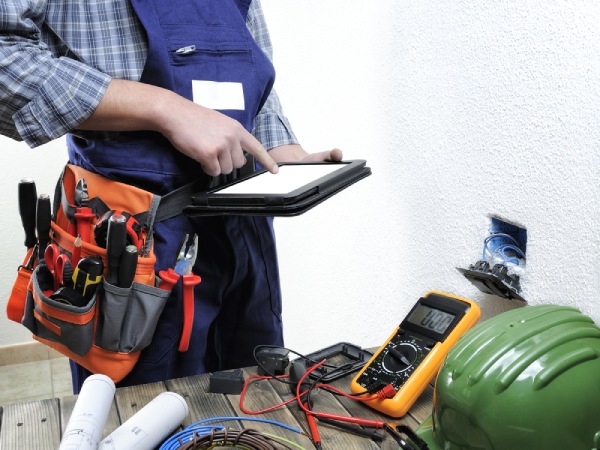
Your conservatory has a lovely new solid roof securely attached. Now we come back on the second day already able to begin work on the tiling, insulation, and electrics.
Day Two’s conservatory building regulations inspection will give you peace of mind that the project is being done safely and the workmanship is of the highest quality.
The roof installation continues into:
-
Day 3-4 – Finishing the Roof Installation
The Guardian Warm Roof comprises several layers, including insulation, ventilation, tiling and the metal roof structure itself.
It can take a couple of days to ensure all these important elements are securely fixed to your conservatory. After the first half of the week you can rest assured that the whole roof is firmly attached from the inside out.
It’s worth noting that in most cases the Guardian Roof allows you to keep your current doors and windows. We make sure to let you know if this is true in your case before the roof installation.
You can schedule a free consultation to discuss this on our website.
-
Day 5-6 – Plastering
The next stage in the conservatory roof conversion process is plastering. The cost of plastering your ceiling is included in the price but you can also opt to plaster the walls. The aim of plastering is to give the inside of the conservatory a quality finish. It’s important to blend the visual transition between the conservatory and the new roof.
The result of these finishing touches is a room that looks just like an extension. Our plasterers are brilliant at making the new garden room feel part of the house – at much less expense and disruption than a whole new extension would have cost.
-
Day 7-8 – Second Fix Electrics
The final stage of the conservatory roof conversion process is 2nd fix electrics involving the installation of your new spotlights and light switches.
Conservatory roof conversion complete!
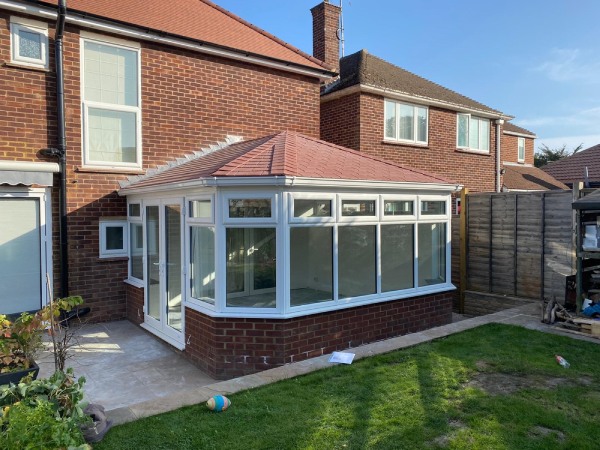
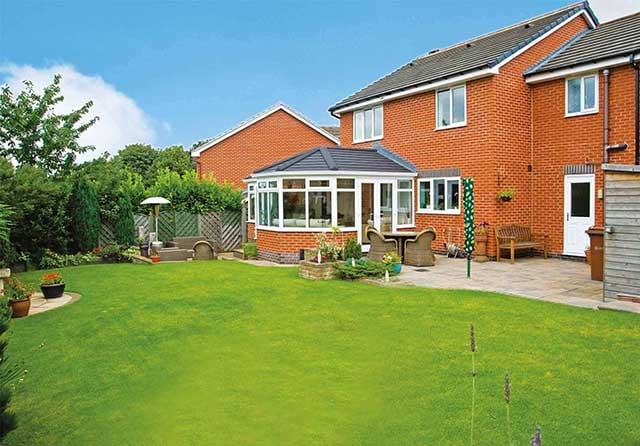
Once all these stages are finished, you will be left with a brand new Guardian conservatory roof. Secure, watertight, attractive, and ready for you to enjoy your warm, refurbished area. All in the space of, on average, 8 working days
Every stage of the construction is carefully managed and planned ahead of time. You’ll always know which Projects 4 Roofing team members are coming to your house and exactly what they’re doing throughout the build.
We promise to keep your project to schedule, installing the best quality conservatory roof with the minimum disturbance.
Get in touch to find out more about our Guardian Roof System installation process by scheduling a free consultation.